
To clean your coffee maker with vinegar, start by gathering supplies like a soft cloth, sponge, and gloves, then rinse the machine and remove used grounds. Fill the water reservoir with a mixture of equal parts vinegar and water, run a brew cycle without coffee, and pause for about 20 minutes to loosen deposits. Afterward, run a couple of water cycles to rinse thoroughly. Clean removable parts and wipe the exterior. Keep going to learn more tips for a spotless, fresh-tasting coffee maker.
Key Takeaways
- Empty and rinse the coffee maker, including the filter basket and carafe, to remove residual coffee grounds and water.
- Fill the water reservoir with a vinegar-water solution (equal parts) and run a brew cycle without coffee.
- Pause the cycle for 15-30 minutes to let vinegar loosen mineral deposits, then run another full cycle to clean internal parts.
- Rinse thoroughly by running 2-3 water-only cycles, ensuring no vinegar taste or residue remains.
- Wipe exterior and removable parts with a damp cloth, then brew a test coffee to confirm the machine’s cleanliness and proper function.
Gather Your Supplies and Prepare Your Workspace
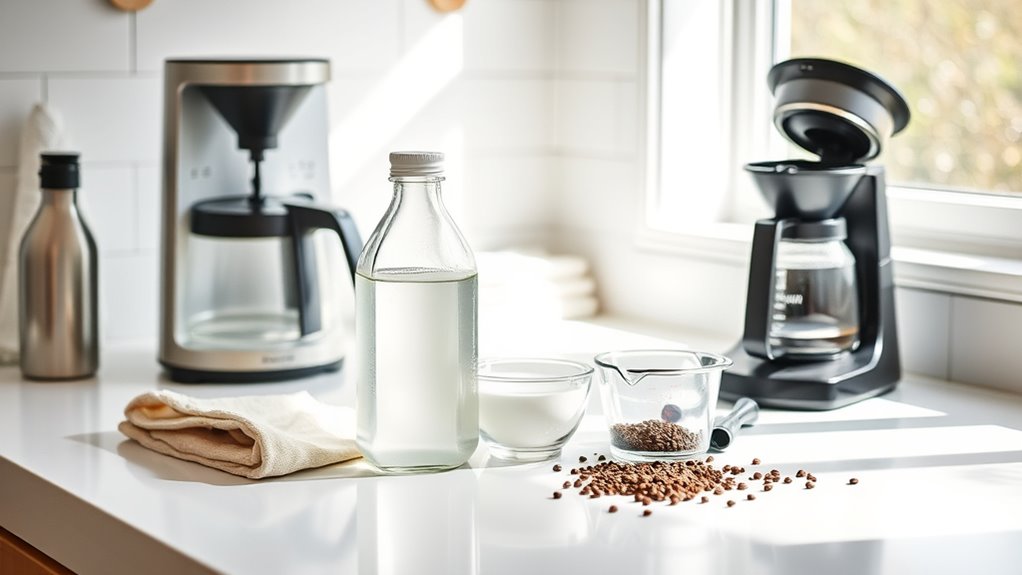
Before you begin cleaning your coffee maker, gather all the supplies you’ll need and set up a clean, organized workspace. You’ll want basic cleaning tools such as a soft cloth, a sponge, and a brush to scrub stubborn spots. Don’t forget safety precautions—wear gloves if you have sensitive skin, and ensure the area is well-ventilated. Having everything within reach prevents interruptions and keeps you focused. Check that your cleaning tools are free of dirt and residue to avoid introducing contaminants. Prepare a small bowl of vinegar and water solution for cleaning, and have paper towels handy for spills. Additionally, understanding the contrast ratio of your cleaning environment can help you choose the best lighting to see stains clearly. Paying attention to the cleaning environment can make your task easier and more effective. Incorporating knowledge of smart home automation can help you set reminders or schedules for regular maintenance, making the process even more efficient. By setting up properly, you minimize risks, stay efficient, and make the cleaning process safe and straightforward.
Empty and Rinse the Coffee Maker
Start by removing any used coffee grounds from the filter basket. Then, drain any remaining water from the reservoir and rinse it thoroughly to eliminate residue. This step guarantees your coffee maker is clean and ready for its next brew. Additionally, maintaining a regular cleaning schedule can help prevent mineral buildup and prolong the life of your appliance. To ensure optimal performance, it’s also helpful to descale your coffee maker periodically, especially if you notice any decrease in brewing efficiency. Regularly inspecting and cleaning your machine can also prevent clogged filters and improve overall taste. Incorporating proper maintenance practices can further extend the lifespan of your coffee maker and keep your coffee tasting fresh.
Remove Used Coffee Grounds
Once your coffee has finished brewing, remove the used coffee grounds from the filter basket. Be sure to discard the grounds properly for grounds disposal, avoiding clogs or messes. Rinse the filter basket with warm water to clear away any residual grounds and prevent buildup. Proper grounds disposal keeps your coffee maker clean and functioning well. Additionally, practicing natural maintenance techniques can extend the lifespan of your appliance. Regularly cleaning with vinegar helps dissolve mineral deposits and keeps your coffee tasting fresh. Incorporating routine cleaning into your schedule ensures the machine stays in optimal condition and prevents flavor transfer. Using appropriate cleaning methods can further enhance the effectiveness of your maintenance routine. Remember that mineral deposits can accumulate over time and impair your coffee maker’s performance.
Drain Remaining Water
After removing the used coffee grounds and rinsing the filter basket, it’s time to drain any remaining water from the coffee maker. Open the brew basket and gently tilt the machine to let out the residual water, guaranteeing proper water filtration. This step helps remove leftover vinegar solution and prevents any vinegar taste from lingering. If your coffee maker has a removable carafe, pour out the water and rinse it thoroughly with clean water. Be sure to wipe any drips around the machine’s exterior. Draining the remaining water also allows you to check for any buildup or debris that might affect future water filtration. This simple step ensures your coffee maker is ready for a fresh brew and that no vinegar concentration remains to affect the taste of your coffee. Proper ventilation considerations can also help dissipate residual odors and ensure safe operation. Additionally, ensuring proper drainage helps prevent mold or bacterial growth inside the machine. Regularly inspecting and maintaining the cleaning process can extend the lifespan of your coffee maker and improve its performance. Incorporating efficient cleaning techniques can further enhance your maintenance routine. Remember that machine design features like removable parts can make your cleaning routine more thorough and easier to perform.
Rinse Reservoir Thoroughly
To make certain your coffee maker is thoroughly cleaned, it’s important to empty and rinse the water reservoir. Proper reservoir maintenance prevents buildup of mineral deposits and guarantees your coffee tastes fresh. After draining the remaining water, rinse the reservoir with clean water to remove any vinegar residue or debris. This step should be part of your regular cleaning frequency to keep your machine in ideal condition. Neglecting to rinse thoroughly can lead to lingering odors or scale buildup, affecting brewing performance. Use a clean cloth or sponge to wipe the reservoir’s interior if needed. Additionally, filter maintenance is essential for optimal performance and longevity of your coffee maker. Regular rinsing and cleaning help prevent scale buildup that can impair brewing quality. Incorporating routine descaling can further extend your machine’s lifespan and ensure every cup tastes just right. Remember, water quality can significantly impact the effectiveness of your cleaning process and the taste of your coffee. Using cleaning solutions designed for coffee makers can also help remove stubborn deposits and improve overall machine function. By maintaining a clean reservoir, you extend your coffee maker’s lifespan and ensure every cup tastes just right. Regular rinsing is a simple, effective way to keep your machine running smoothly.
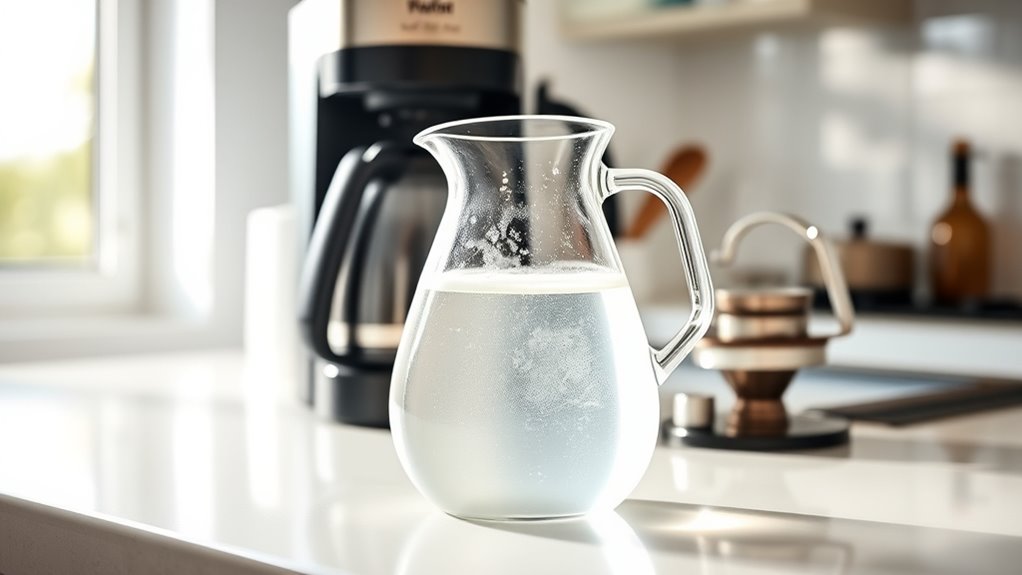
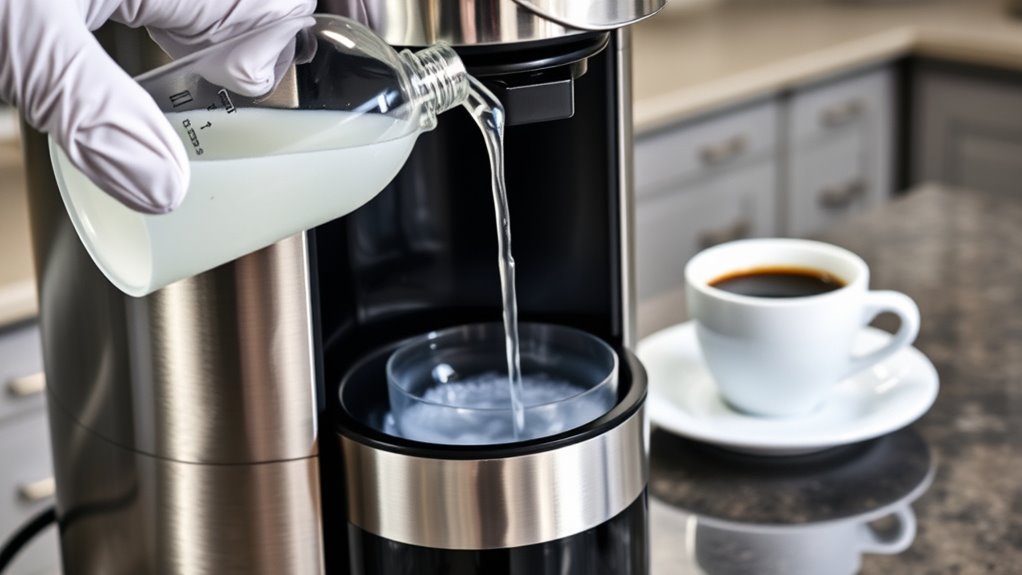
Fill the Water Reservoir With Vinegar Solution

Start by measuring equal parts vinegar and water to create a cleaning solution. Use a proper container to mix them thoroughly before pouring, ensuring you get the right proportions. Then, fill the water reservoir completely with the vinegar solution to start the cleaning process. Be aware that toxic substances can sometimes develop if the vinegar solution is left in the machine for too long without proper rinsing. Regular maintenance with vinegar helps maintain energy efficiency and prolongs the lifespan of your coffee maker.
Measure Vinegar and Water
Begin by measuring out a mixture of equal parts vinegar and water. This solution will help remove mineral buildup and improve your coffee flavor. Use a measuring cup to guarantee accuracy, filling it with the same amount of vinegar and water. The water temperature isn’t critical here, but warm water can help the vinegar mix more thoroughly. Pour the mixture into the water reservoir, making sure not to overfill. Accurate measurement ensures that the cleaning solution is strong enough to break down deposits without damaging your machine. A consistent vinegar-to-water ratio guarantees effective cleaning and prevents any overpowering vinegar taste in your coffee. Once filled, your coffee maker is ready for the next step in the cleaning process.
Use Proper Container
Ensuring you use the proper container is essential for an effective cleaning process. When selecting a container for your vinegar solution, choose a vessel that’s clean and large enough to hold the necessary liquid without spilling. Proper container selection helps guarantee an even distribution of the vinegar mixture during vessel cleaning, allowing thorough contact with all internal surfaces of your coffee maker. Avoid using containers that are too small or unclean, as they can hinder the cleaning process and introduce bacteria or residues. Make sure the container is compatible with hot liquids to prevent melting or warping. By choosing the right vessel, you ensure your vinegar solution effectively cleans the water reservoir and internal components, promoting better coffee maker performance and longer-lasting cleanliness.
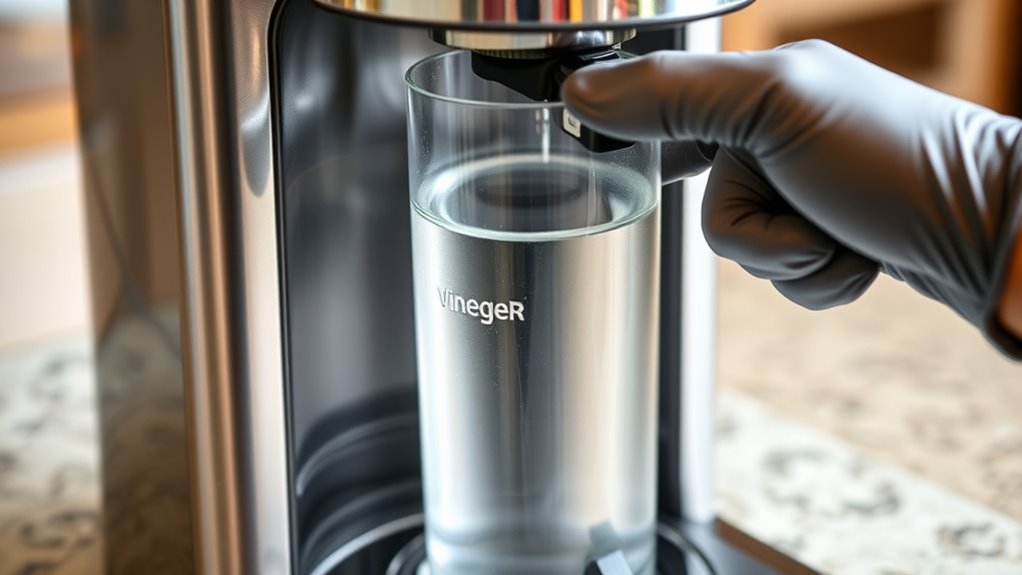
Fill Reservoir Fully
Fill the water reservoir completely with the vinegar solution to guarantee thorough cleaning. Ensure the vinegar concentration is appropriate—about a 1:1 ratio of vinegar to water—so it effectively breaks down buildup. Use warm water for the solution, as it helps loosen mineral deposits and grime more efficiently. Avoid using hot water directly from the tap, as extreme temperatures can damage some coffee makers, but warm water is ideal for this cleaning process. Pour the vinegar mixture carefully into the reservoir, making sure it’s full and evenly distributed. This step is essential for cleaning out all internal components and guaranteeing that the vinegar reaches all areas that need descaling. Proper filling ensures your coffee maker gets a complete, effective cleanse.
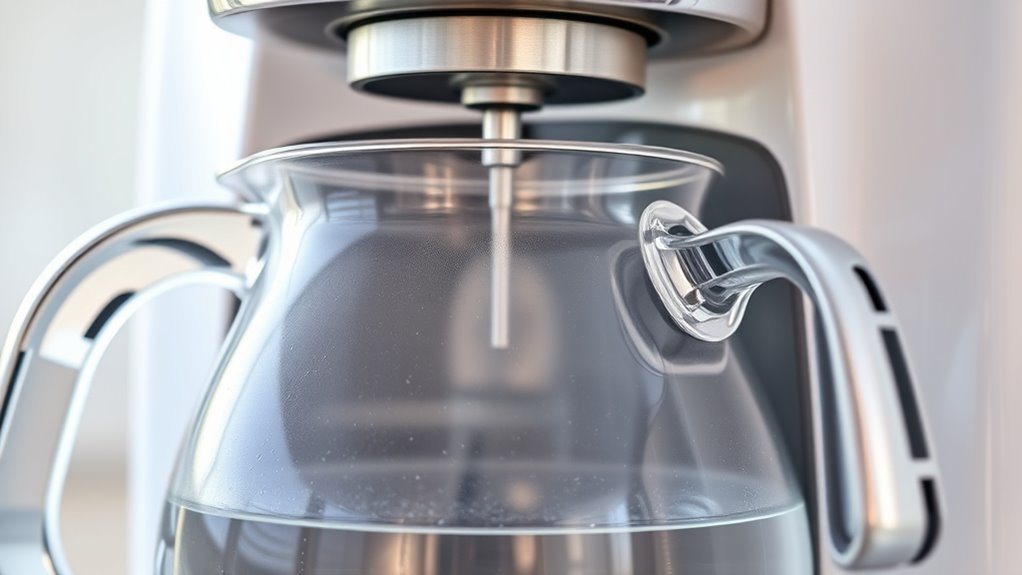
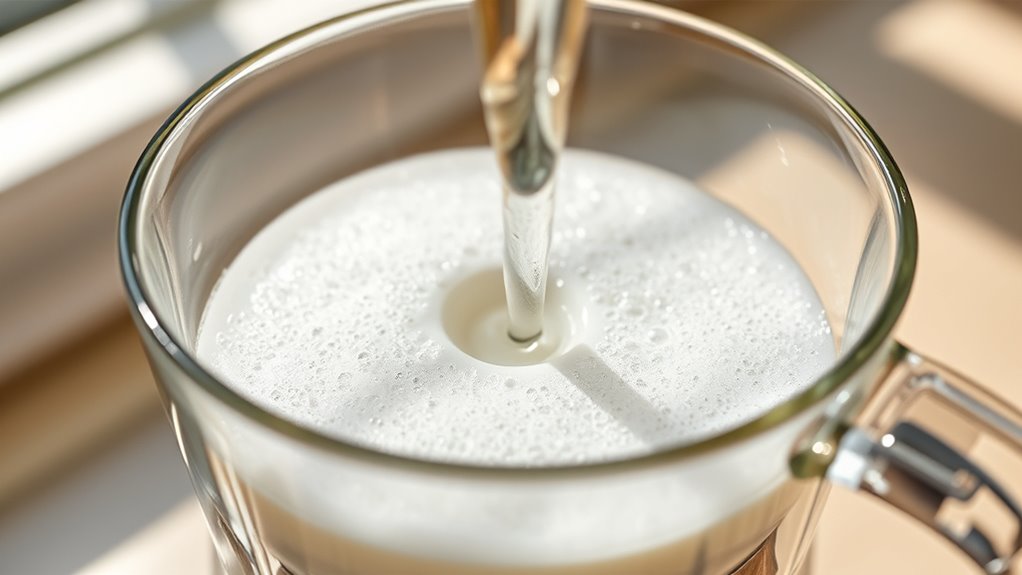
Run a Brew Cycle Without Coffee
Running a brew cycle without coffee is an essential step in cleaning your coffee maker. This process helps remove mineral buildup caused by water hardness and vinegar residue. Fill the water reservoir with a mixture of equal parts water and white vinegar, adjusting the vinegar concentration based on your water’s mineral content. If you have hard water, use a higher vinegar ratio to ensure effective descaling. Turn on the machine and let it run through a complete brewing cycle. This allows the vinegar to circulate and loosen deposits inside the machine’s internal components. Once the cycle finishes, discard the vinegar brew. This step prepares your coffee maker for a thorough rinse, ensuring better-tasting coffee and longer-lasting performance.
Pause to Let the Vinegar Sit and Loosen Deposits
After the vinegar cycle finishes, it’s important to let the solution sit in the machine for at least 15 to 30 minutes. This pause enhances vinegar effectiveness, allowing it to break down mineral deposits and grime. During this time, the vinegar works to loosen stubborn deposits, making removal easier. To understand how this works, consider the following:
| Action | Purpose |
|---|---|
| Let the vinegar sit | Improve deposit removal and cleaning efficiency |
| Wait 15-30 minutes | Maximize vinegar effectiveness against deposits |
| Avoid running a new cycle | Allow vinegar to work without disruption |
| Rinse thoroughly afterward | Ensure any loosened deposits are flushed out |
This step ensures your coffee maker stays cleaner, longer, with fewer mineral buildup issues.
Complete the Brew Cycle and Discard the Vinegar

Now, start the full brew cycle to rinse out the vinegar. Once it’s finished, discard the used solution and empty the reservoir. This step guarantees your coffee maker is thoroughly cleaned and ready for fresh brews.
Run Full Brew Cycle
To effectively clean your coffee maker, you need to run a full brew cycle with the vinegar solution. This step is vital for proper descaling methods, as it breaks down mineral buildup inside the machine. Make sure to start the brew cycle and allow it to complete completely. Once finished, discard the vinegar and rinse any remaining liquid. This process helps maintain your coffee maker’s performance and extends its lifespan by reducing mineral deposits. Regular cleaning frequency, such as every 1 to 3 months, guarantees your machine stays in prime condition. Avoid skipping this step, as it’s essential for removing scale and preventing clogs. After completing the brew cycle, you’re ready to move on to the next step in cleaning your coffee maker thoroughly.
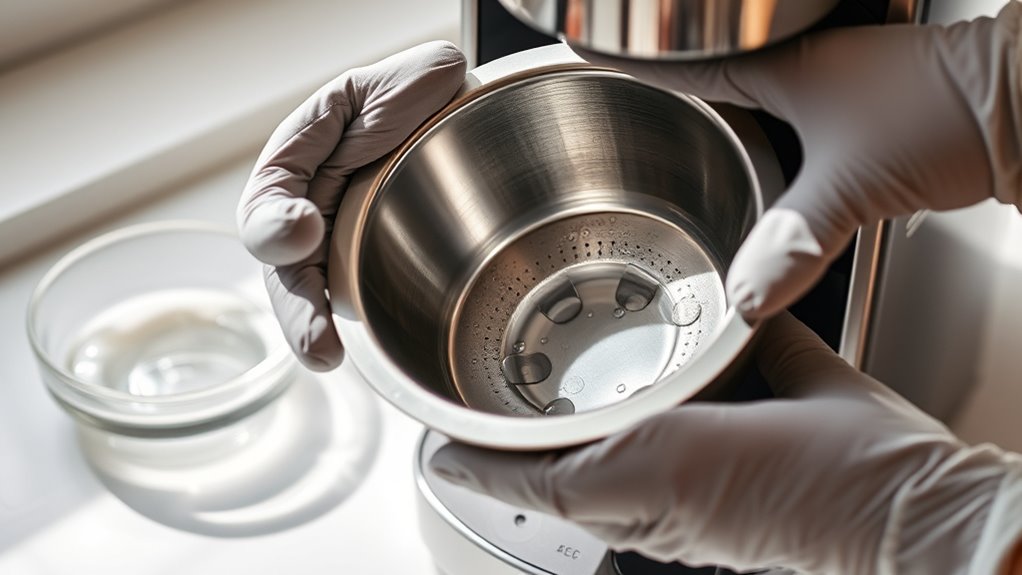
Empty the Reservoir
Begin by completing the brew cycle with the vinegar solution. Once it’s finished, turn off the coffee maker and carefully discard the vinegar solution from the water reservoir. Rinse the reservoir thoroughly with clean water to eliminate any lingering vinegar.
- Remove the water reservoir and wash it with warm, soapy water
- Use a sponge or brush to scrub away any buildup
- Rinse the reservoir completely to eradicate vinegar smell
- Reattach the reservoir securely to the coffee maker
- Fill the reservoir with fresh water for a rinse cycle
This step ensures all vinegar residue is eliminated, preventing any lingering taste or smell. Properly emptying and rinsing the water reservoir after using the vinegar solution keeps your coffee maker clean and ready for its next brew.
Run Multiple Rinses With Water to Remove Vinegar Residue

After running the vinegar solution through your coffee maker, it’s essential to rinse thoroughly to remove any lingering vinegar taste and smell. This step guarantees vinegar safety and prevents any residual flavor from affecting your next brew. To effectively eliminate vinegar residue, run multiple water cycles through the machine. Typically, 2-3 rinses are enough, but adjust based on taste. Keep in mind that frequent rinsing maintains ideal Rinse frequency, helping your coffee maker stay clean and functional.
| Rinse Count | Water Temperature | Duration per Rinse |
|---|---|---|
| 1 | Hot | 5 minutes |
| 2 | Hot | 5 minutes |
| 3 | Hot | 5 minutes |
| Additional | Warm | 3 minutes each |
| Frequency | As needed | After cleaning |
Clean Removable Parts Separately
Removing and cleaning your coffee maker’s removable parts is essential for maintaining peak performance. Regular cleaning prevents buildup and keeps your coffee tasting fresh. Follow a consistent cleaning schedule to stay on top of maintenance.
During cleaning, focus on these removable parts:
- Brew basket
- Water reservoir
- Carafe
- Filter holder
- Showerhead
Wash each part with warm, soapy water, then rinse thoroughly. Use a soft brush or cloth to scrub away any residue or mineral deposits. Let parts dry completely before reassembling. Incorporate this step into your cleaning schedule—ideally weekly—to guarantee your coffee maker remains in excellent condition. Keeping removable parts clean helps prevent clogs, extends the machine’s lifespan, and guarantees a better brew every time.
Wipe Down the Exterior and Carafe
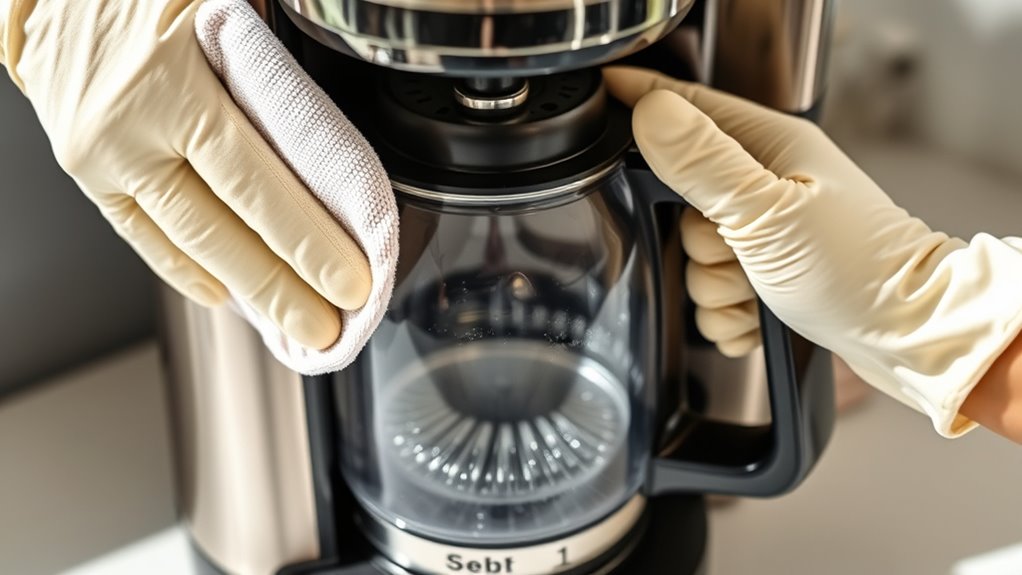
To keep your coffee maker looking its best and functioning properly, wiping down the exterior and carafe regularly is essential. Use a soft cloth or a damp microfiber towel for a quick countertop wipe to remove dust, fingerprints, and any coffee splashes. For the carafe, perform thorough cleaning by rinsing it with warm water and a gentle dish soap to eliminate stains or residue. If needed, you can use a mixture of vinegar and water for effective carafe cleaning, which also helps with mineral buildup. Be sure to dry all surfaces completely to prevent water spots and maintain a shiny appearance. Regular maintenance guarantees your coffee maker stays clean, operates efficiently, and produces great-tasting coffee every time.
Brew a Test Coffee to Ensure a Fresh Taste
Brew a test coffee before making your usual batch to guarantee your coffee maker is functioning properly and producing a fresh, great-tasting brew. This step helps you assess the coffee strength and brewing temperature after cleaning. Pay attention to the flavor and aroma, ensuring there’s no lingering vinegar or cleaning residue. If the taste is off, run another brew cycle with just water to clear any residual cleaning solution. Adjust your coffee strength or brewing temperature if needed for ideal results. This quick test confirms your machine’s performance and confirms it’s ready for regular use. Remember, a properly cleaned coffee maker should produce a balanced, flavorful brew every time.
- Check for a rich aroma and balanced flavor
- Ensure no vinegar aftertaste remains
- Confirm brewing temperature is consistent
- Taste for proper coffee strength
- Run a water cycle if needed
Frequently Asked Questions
How Often Should I Clean My Coffee Maker With Vinegar?
You should clean your coffee maker with vinegar every 1 to 3 months, depending on usage. Following a regular maintenance schedule helps prevent mineral buildup, ensuring your machine operates efficiently and prolongs its lifespan. If you notice clogs or a change in taste, clean it sooner. Consistent cleaning keeps your coffee fresh and your coffee machine lasting longer, saving you money and hassle down the line.
Can I Use Other Types of Vinegar for Cleaning?
While white vinegar is your best choice, you can use alternative vinegar types like apple cider or rice vinegar for cleaning. However, these may affect cleaning effectiveness and leave residual odors or stains. You might think they’re interchangeable, but the acidity levels differ, impacting how well they remove mineral buildup. For best results, stick with white vinegar, as it’s specifically designed for cleaning and won’t compromise your coffee maker’s performance.
Is It Safe to Run a Vinegar Cycle Daily?
Running a vinegar cycle daily isn’t recommended because it can leave behind vinegar residue and cause wear on your coffee maker. Instead, do it once a month for effective odor elimination and cleaning. Frequent use may damage internal parts over time. Always rinse thoroughly afterward to prevent lingering vinegar odor and residue. This guarantees your machine stays clean without risking damage or unpleasant tastes in your coffee.
How Do I Prevent Vinegar Smell in My Coffee?
Imagine your coffee’s aroma as a delicate dance—vinegar odor can step on its toes. To prevent this, rinse your coffee maker thoroughly after a vinegar cycle, using fresh water multiple times. Run plain water through the brew cycle to flush out residual vinegar, which helps eliminate vinegar odor and preserves your coffee flavor. This simple step keeps your brew tasting pure and aromatic, free from unwanted vinegar aftertastes.
Are There Alternative Cleaning Methods if Vinegar Isn’t Available?
If vinegar isn’t available, you can use alternative cleaning agents like lemon juice or baking soda combined with water for natural descaling. Lemon juice’s acidity helps break down mineral deposits, while baking soda acts as a gentle scrub. Run a brew cycle with these solutions, then rinse thoroughly with water. These natural descaling methods effectively clean your coffee maker without leaving a strong smell, ensuring fresh-tasting coffee every time.
Conclusion
Now that you know how to clean your coffee maker with vinegar, you can keep it running smoothly, and your coffee tasting fresh, and your machine working efficiently. Regular cleaning prevents buildup, prolongs its lifespan, and guarantees every cup is delicious. So, clean it regularly, rinse it thoroughly, and maintain it diligently. With simple steps and consistent care, you’ll enjoy great-tasting coffee every morning and a machine that lasts for years to come.