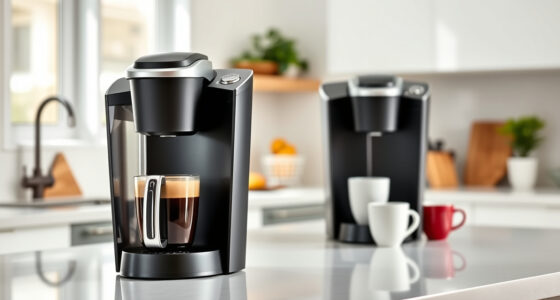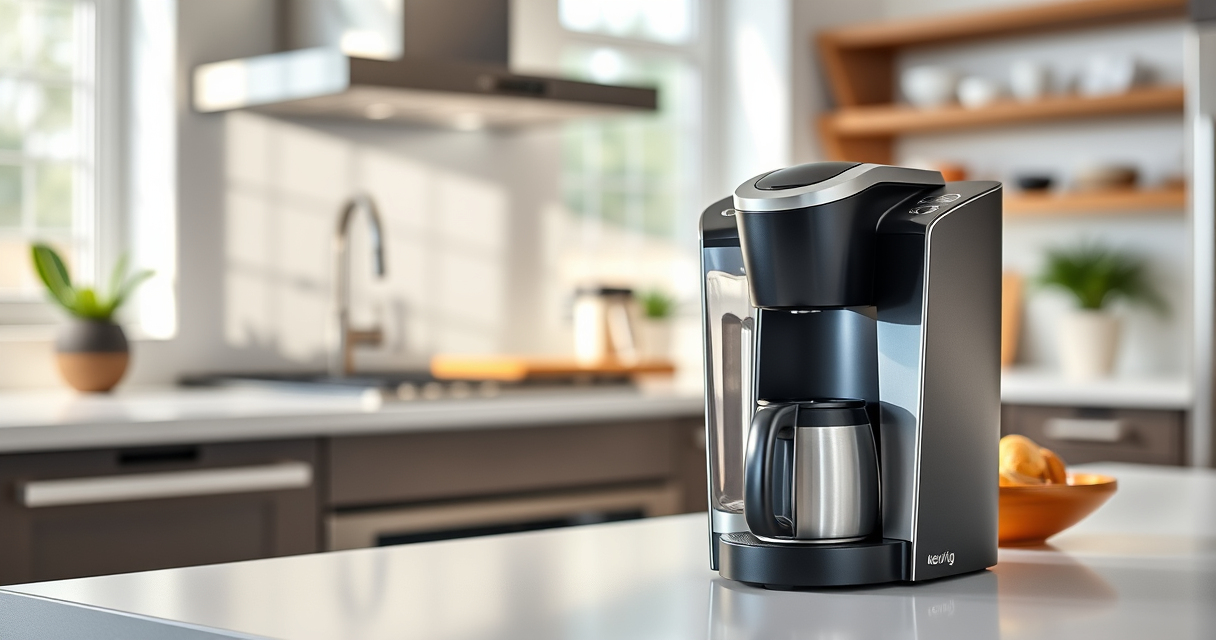

If your Keurig coffee maker is brewing bitter, stale, or off-flavor coffee, it’s likely due to mineral buildup, residue, or mold. Regular cleaning and descaling are essential to restore optimal taste. In this guide, we’ll walk you through simple, safe steps to troubleshoot and fix common taste problems with your Keurig K-Mini.

Get kitchen gear delivered free with Prime
- Fast, free delivery on millions of items
- Prime Video, Amazon Music and more included
- Member-only deals all year
Proper maintenance not only improves flavor but also extends the lifespan of your machine. Follow these step-by-step instructions to ensure your coffee tastes fresh and enjoyable each morning.
Key Takeaways
| Regular Descaling | Removes mineral buildup that affects flavor. |
| Deep Cleaning | Clears residue, oils, and mold from internal parts. |
| Use Fresh Water | Prevents stale flavors and mineral deposits. |
| Check Water Filter | Ensures clean water for brewing. |
| Maintain Frequency | Clean every 2-3 months for best results. |
Step 1: Empty and Rinse the Water Reservoir
- Remove the water reservoir from your Keurig K-Mini.
- Discard any remaining water and rinse the reservoir thoroughly with clean water.
- Wipe the inside with a soft cloth to remove any residue or buildup.
Step 2: Clean the Needle and Brew Path
- Use a paperclip or the needle cleaning tool to gently clear any clogs or coffee grounds lodged in the needle.
- Ensure the brew path is free of debris to prevent off-flavor extraction.
Step 3: Descale Your Keurig
- Fill the water reservoir with a descaling solution or a mixture of equal parts white vinegar and water.
- Run a brew cycle without a K-Cup, allowing the solution to pass through the system.
- Repeat with clean water to flush out any remaining vinegar or descaling solution.
Step 4: Clean Internal Components
Remove and wash the drip tray, pod holder, and any removable parts with warm, soapy water. Rinse thoroughly and dry before reassembling.
Step 5: Replace Water Filter and Test
If your model uses a water filter, replace it with a new one for optimal water quality. Fill the reservoir with fresh water and brew a test cup to check for improved flavor.
The Products in This Guide

Keurig K-Mini Single Serve K-Cup Pod Coffee Maker
- ✔ Brew Size: 6-12oz
- ✔ Removable Drip Tray: Yes
- ✔ Cord Storage: Yes

My K-Cup® Reusable Coffee Filter
- ✔ Brew Method: Ground coffee
- ✔ Reusable: Yes
- ✔ Compatibility: Keurig machines
Keurig K-Mini Single Serve K-Cup Pod Coffee Maker
The Keurig K-Mini Single Serve K-Cup Pod Coffee Maker is a popular choice for those with limited space. Its simple design and quick brewing make it easy to maintain and use regularly. When taste issues arise, proper cleaning and descaling are key to restoring its performance.
Pros:
- Compact and space-saving
- Fast brew time
- Easy to clean
- Compatible with My K-Cup reusable filter
Cons:
- Limited water reservoir
- No on/off switch
- Requires regular descaling
Best for: Small kitchens, dorms, offices
Not ideal for: For those needing larger capacity or advanced features
Bottom line: A compact, efficient coffee maker that benefits greatly from regular cleaning.
My K-Cup® Reusable Coffee Filter
The My K-Cup® Reusable Coffee Filter allows you to brew your own ground coffee, which can help eliminate off-flavors caused by K-Cup pods or residue. It’s compatible with the Keurig K-Mini and other models, making it a versatile choice for improving taste.
Pros:
- Customizable coffee blend
- Cost-effective over time
- Easy to clean
- Reduces waste
Cons:
- Requires ground coffee prep
- Potential for overfilling
- Needs regular cleaning
Best for: Coffee enthusiasts who prefer ground coffee
Not ideal for: For those who mainly brew K-Cup pods
Bottom line: A practical upgrade for fresh, flavorful coffee using ground beans.
Frequently Asked Questions
How often should I descale my Keurig K-Mini?
It’s recommended to descale every 2-3 months, especially if you notice a decline in coffee flavor or if you have hard water.
Why does my coffee taste bad even after cleaning?
Mineral deposits, residue, or mold buildup can affect taste. Regular descaling and internal cleaning help maintain flavor quality.
Can I use vinegar to descale my Keurig?
Yes, a mixture of equal parts white vinegar and water works well for descaling. Follow with a thorough rinse cycle with fresh water.
What is the best way to clean the needle?
Use a paperclip or the needle cleaning tool to gently clear any clogs or coffee grounds lodged in the needle to ensure proper brewing.
How do I prevent mold inside my Keurig?
Empty the water reservoir regularly, clean removable parts, and leave the lid open slightly when not in use to allow airflow and prevent mold growth.
Keep Your Keurig Brewing Fresh and Tasty
Regular maintenance is essential to keep your Keurig K-Mini producing delicious coffee. Descaling, cleaning internal components, and using fresh water will combat common taste issues. By following these simple steps, you’ll enjoy a consistently flavorful brew and extend the life of your machine.
Investing in a reusable filter like the My K-Cup can also offer more control over your coffee’s flavor profile. Proper upkeep ensures your daily coffee ritual remains enjoyable and satisfying.
Affiliate disclosure: As an Amazon Associate we earn from qualifying purchases. Prices and availability are accurate as of the time of publishing.
Halloween Picks
halloween
As an affiliate, we earn on qualifying purchases.