After making smoothies, start by rinsing your blender immediately with warm water and a drop of dish soap to loosen leftovers. Use a cleaning brush to reach stubborn spots and wipe the exterior. For tougher residues, apply a baking soda paste or use a gentle vinegar-water solution, then scrub gently. Rinse thoroughly and dry completely to prevent odors. Doing regular deep cleanings will keep your blender hygienic and in top shape. Keep going to discover more cleaning tips.
Key Takeaways
- Rinse the blender immediately with warm water and dish soap to loosen smoothie residues.
- Use gentle brushes or sponges to clean around blades and hard-to-reach areas safely.
- Avoid harsh abrasives or metal tools to prevent scratching or damage.
- Rinse thoroughly to remove soap or vinegar solutions, then dry completely with a towel.
- Schedule regular deep cleans with baking soda or vinegar to prevent buildup and maintain hygiene.
Rinse Immediately After Use
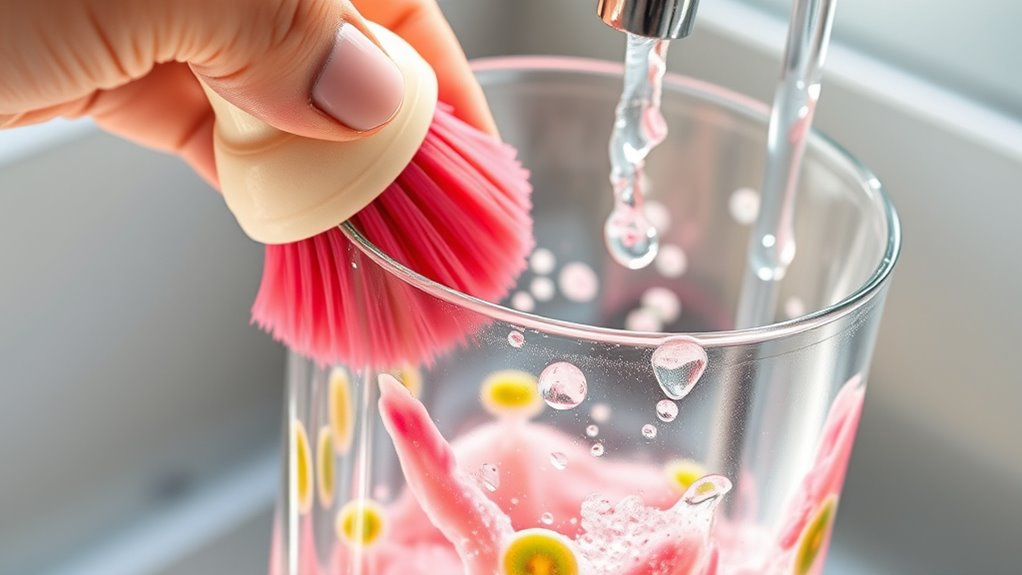
Have you ever noticed how much easier it is to clean a blender right after using it? Rinsing your blender immediately prevents residue from drying on the blades, making cleanup simpler. Start by filling the blender halfway with warm water and a drop of dish soap, then turn it on briefly to loosen debris. Use cleaning brushes to reach stubborn spots around the blender blades, ensuring no food particles stick. These brushes are designed to clean hard-to-reach areas safely, preventing buildup that can affect performance or cause odors. Once the blender is rinsed, wipe down the exterior with a damp cloth. Rinsing right away keeps your blender hygienic and reduces the effort needed for a more thorough cleaning later on.
Use a Gentle Cleaning Solution

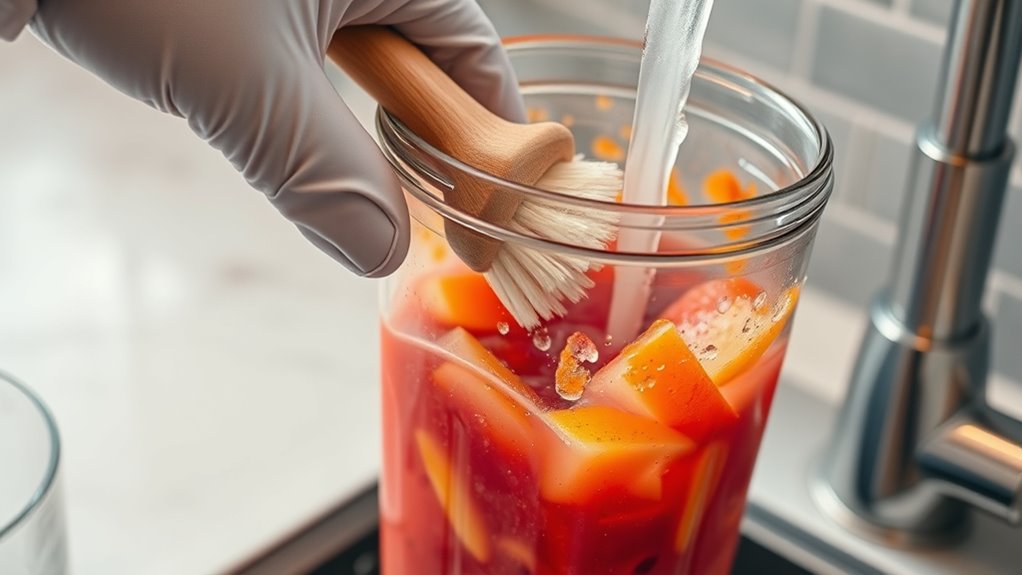
Using a gentle cleaning solution is essential to maintain your blender’s performance and prolong its lifespan. Choose a mild dish soap or a blend of vinegar and water to avoid damaging the blender material. This approach helps prevent harsh chemicals from corroding parts or dulling surfaces. Use cleaning brushes designed for your blender’s shape to reach all crevices without scratching. Here’s how you might feel when your blender stays in top shape:
| Emotion | Reason |
|---|---|
| Confident | Your blender works like new |
| Satisfied | No lingering odors or residues |
| Peaceful | Knowing it’s safe for future use |
| Proud | Caring for your kitchen tools |
| Relaxed | Easy to clean with gentle solutions |
Additionally, regularly inspecting the material composition of your blender helps ensure you’re using appropriate cleaning methods that won’t damage sensitive parts. Being aware of material compatibility can help you select the safest cleaning techniques for your appliance. Proper maintenance can also help prevent corrosion or deterioration over time, extending the life of your blender. Incorporating regular cleaning routines can also assist in preventing bacterial buildup, ensuring your appliance remains hygienic for every use.
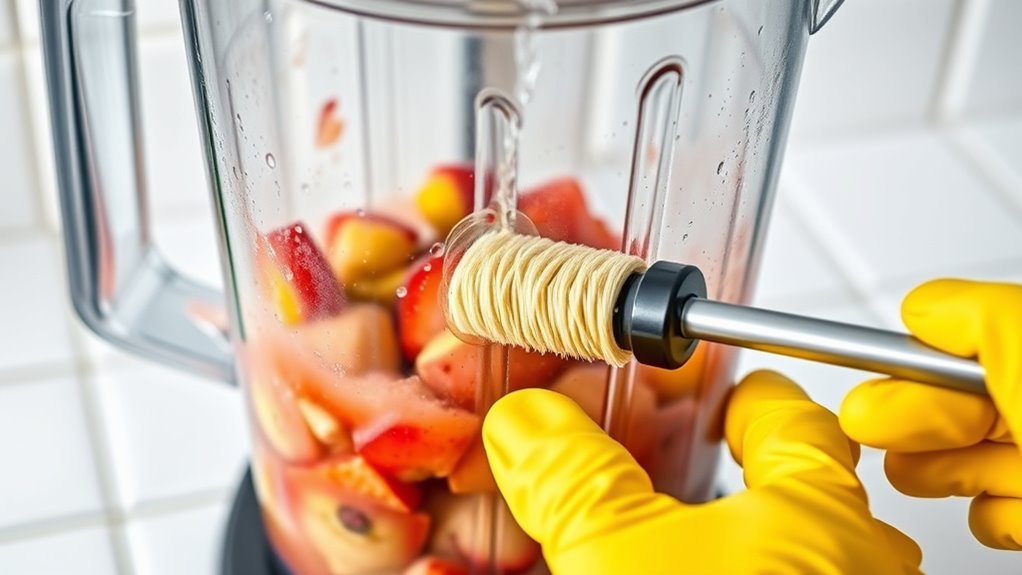
Scrub Stubborn Residues Safely
Stubborn residues can be challenging to remove, but with the right approach, you can clean them safely without damaging your blender. Use a scrubbing brush to gently tackle stuck-on bits, focusing on areas with persistent buildup. For tougher spots, create a paste with baking soda and a small amount of water. Apply the paste directly to the residue and let it sit for a few minutes to loosen grime. Then, scrub gently with your brush until the residue lifts. Avoid harsh abrasives or metal tools, which can scratch or damage the blender’s surface. This method guarantees thorough cleaning while protecting your appliance’s integrity. Additionally, understanding the importance of proper cleaning techniques can prevent damage and extend the lifespan of your blender. Employing safe cleaning methods can help maintain your blender’s performance and appearance over time. Being aware of material compatibility is crucial to ensure the cleaning process does not harm your blender’s components. Using gentle, non-abrasive cleaning techniques aligns with best practices for appliance care, ensuring your blender remains in optimal condition. Incorporating proper cleaning routines can also avoid costly repairs, saving you money and effort in the long run. With patience and the right tools, stubborn residues won’t stand a chance.
Rinse and Dry Thoroughly
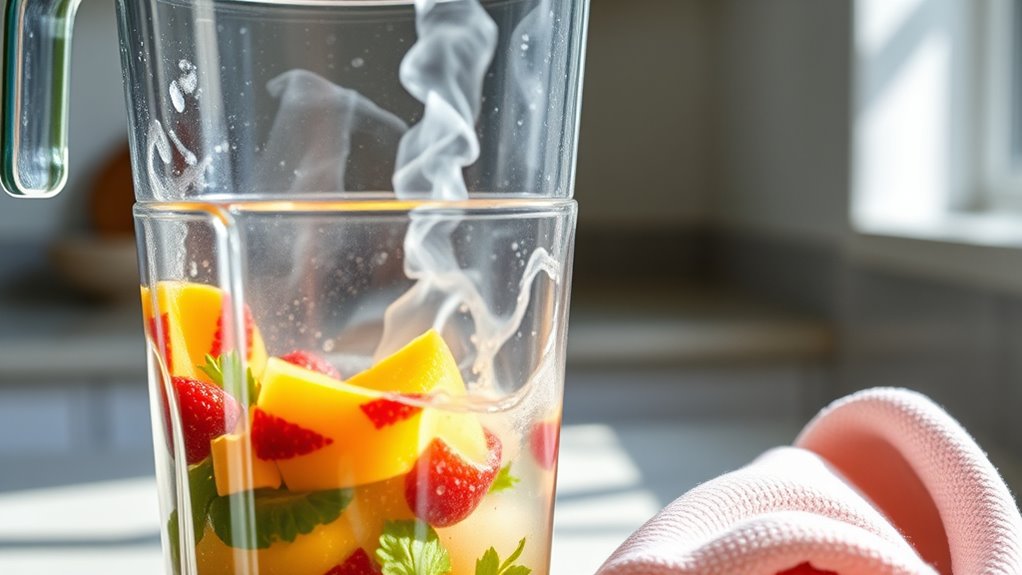
After you finish cleaning your blender, it is essential to rinse away any remaining soap or residue thoroughly. Use clean water and your preferred cleaning tools, like a sponge or soft brush, to guarantee every part is free of soap suds. Pay special attention to the blades and corners where debris can hide. Once rinsed, dry the blender completely with a clean towel or cloth. Proper drying prevents moisture buildup, which can cause mold or odors. Additionally, drying helps maintain the appliance’s longevity and optimal performance. To further prevent bacterial growth, consider periodically disinfecting your blender following manufacturer guidelines. Regular cleaning routines are crucial for kitchen appliance maintenance and ensuring safety. Incorporating seasonal maintenance routines can further prolong your blender’s lifespan and ensure your appliance functions well over time. Notably, proper storage, such as keeping the lid off or slightly ajar, allows for airflow that prevents mustiness. Following these steps ensures your blender stays clean, odor-free, and ready for your next smoothie session.
Maintain Regular Deep Cleanings
To keep your blender performing at its best, it’s important to schedule regular deep cleanings. This prevents residue buildup that can affect your blender’s performance and hygiene. Deep cleaning also helps maintain proper blender storage, making certain mold or unpleasant odors don’t develop. When selecting ingredients for your smoothies, opt for fresh, whole items, as overly processed or sticky ingredients can leave stubborn residues. After uses, run a cleaning cycle with warm water and a splash of vinegar or baking soda to break down buildup. Regular deep cleanings guarantee your appliance stays spotless and ready for the next batch. Incorporating connected cooking features can also help monitor and optimize your cleaning routines. Proper maintenance prolongs your blender’s lifespan and keeps your smoothies tasting fresh and clean every time. Additionally, using proper cleaning tools ensures all crevices are thoroughly sanitized, reducing the risk of bacterial growth. Incorporating routine cleaning schedules can further streamline your maintenance efforts and ensure consistent hygiene. Regularly inspecting your blender for residue buildup can help you catch issues early and maintain optimal performance.
Frequently Asked Questions
Can I Put My Blender Parts in the Dishwasher?
You might find it handy to put your blender parts in the dishwasher, but check for dishwasher safety first. Most plastic and glass parts are dishwasher safe, but some blades or seals aren’t. For a thorough clean, use vinegar to cut through residue and odors. Always remove blades carefully and avoid dishwasher damage. When in doubt, hand wash to keep your blender in top shape and guarantee safe cleaning.
Is It Safe to Use Bleach for Cleaning?
Using bleach to clean your blender isn’t safe, as it can leave harmful residues. Instead, opt for bleach alternatives like white vinegar or baking soda, which are effective kitchen disinfectants. These natural options kill germs without risking your health or damaging the blender. Always rinse thoroughly after cleaning, and avoid harsh chemicals to keep your blender safe and clean for future use.
How Often Should I Replace Blender Seals?
Did you know that regular blender maintenance can extend its lifespan by up to 50%? You should replace your blender seals every 6 to 12 months, depending on usage. Keep an eye on signs of wear, like leaks or difficulty blending. Proper seal replacement frequency guarantees your blender stays safe and efficient, preventing leaks and contamination. Staying consistent with seal checks makes your appliance last longer and performs better.
Can I Clean the Blender Motor Base With Water?
You shouldn’t clean the blender motor base with water because water safety is essential. Instead, unplug your blender first, then wipe the motor base with a damp cloth or sponge. Avoid submerging it in water or using harsh cleaners, as this can damage the motor and internal components. Regular motor base cleaning with a damp cloth keeps it free of dust and grease, ensuring safe and efficient operation.
What Should I Do if My Blender Smells Bad?
A bad blender smell is like a stubborn shadow, but you can chase it away. To tackle the blender odor, try deodorizing methods like blending baking soda and water or vinegar and water. Let the mixture sit, then rinse thoroughly. If the smell persists, repeat the process. Regular cleaning keeps your blender fresh, preventing odors from lingering like an unwelcome guest.
Conclusion
Just like a wise alchemist preserves their secret ingredients, taking proper care of your blender guarantees it remains a trusted tool in your kitchen. By rinsing promptly, using gentle solutions, and regular deep cleans, you safeguard its longevity and performance. Remember, a well-maintained blender is the silent hero behind every smoothie masterpiece. Treat it with care, and it’ll reward you with countless delicious blends, whispering stories of freshness and craftsmanship with each use—echoes of mastery passed down through time.