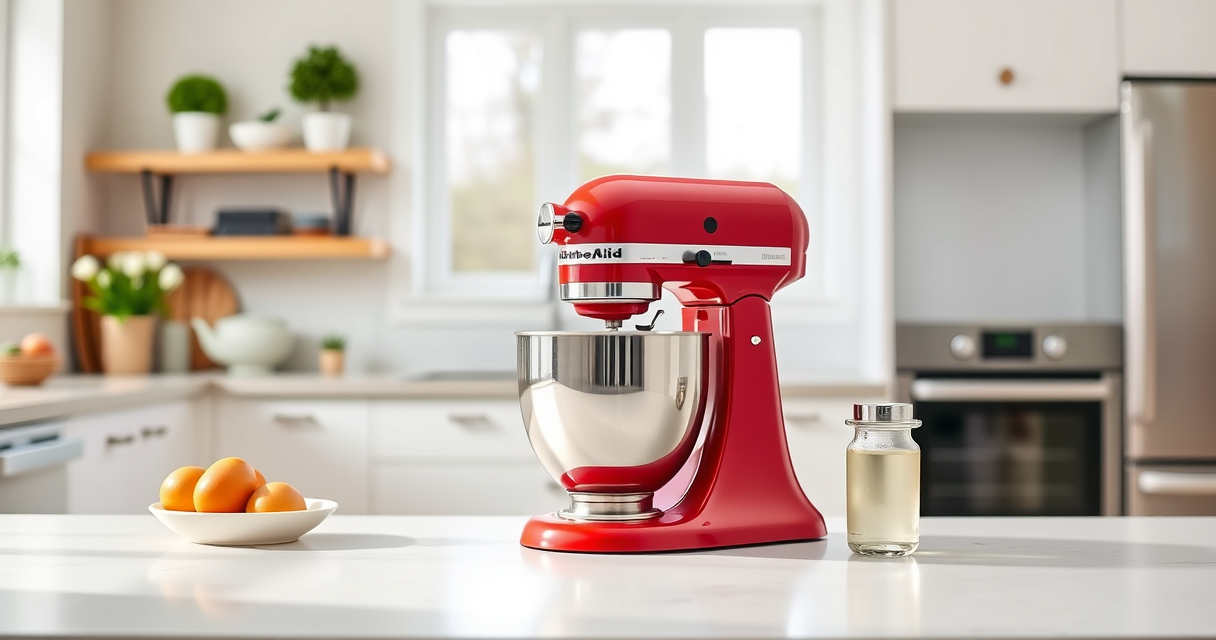

Maintaining your KitchenAid Pro Line mixer is essential for optimal performance and hygiene. Proper cleaning not only extends the lifespan of your appliance but also ensures your food remains safe and free from residue buildup. In this guide, you’ll find practical, safe, and effective steps to clean your mixer thoroughly.

Get kitchen gear delivered free — and shop member deals
- Fast, free delivery on millions of items
- Access to Prime Big Deal Days deals on October 6–7
- Prime Video, Amazon Music and more included
Follow these instructions carefully to keep your KitchenAid Pro Line mixer looking and functioning like new.
Key Takeaways
| Safety First | Always unplug before cleaning to prevent electrical hazards. |
| Remove Attachments | Detach all removable parts before cleaning. |
| Use Appropriate Cleaners | Avoid harsh chemicals; use mild soap and water. |
| Clean Thoroughly | Pay attention to crevices and removable parts. |
| Dry Completely | Ensure all parts are dry before reassembling to prevent rust. |
Preparation Before Cleaning
- Unplug your KitchenAid Pro Line mixer from the power outlet to ensure safety.
- Remove all attached accessories, such as the stainless steel flat beater, and any other removable parts.
- Wipe off excess food or ingredients from the attachments and mixer body with a damp cloth.
Cleaning Attachments
- Wash the stainless steel flat beater with warm water and mild dish soap. Use a soft brush or sponge to scrub away any stuck-on residue.
- Rinse thoroughly and dry with a clean towel to prevent water spots or rust.
- If dishwasher safe, place the attachment in the dishwasher for a thorough cleaning, otherwise hand wash only.
Cleaning the Mixer Body
Wipe down the mixer body with a damp cloth. Avoid using abrasive cleaners or scouring pads that could scratch the surface. For stubborn spots, use a mild soap solution. Pay special attention to crevices and around the attachment hub.
Cleaning the Attachment Hub and Vent Areas
Use a soft brush or a dry cloth to gently clean the attachment hub and vent areas. This prevents dust accumulation and ensures smooth attachment fitting.
Final Steps and Maintenance Tips
- Dry all cleaned parts thoroughly with a towel to prevent rust or water spots.
- Reassemble the mixer once all parts are dry.
- Store in a clean, dry place, ready for your next baking session.
Regular cleaning after each use helps prevent buildup and keeps your mixer performing at its best.
The Products in This Guide

Stainless Steel Flat Beater
- ✔ Material: Stainless Steel
- ✔ Compatibility: 4.5-5 Qt Tilt-Head Mixers
- ✔ Dishwasher Safe: Yes

KitchenAid Stand Mixer Attachment
- ✔ Material: Metal
- ✔ Includes: Multiple grinding plates
- ✔ Pre-chill: Recommended
Stainless Steel Flat Beater
The stainless steel flat beater is engineered for long-lasting performance, resisting bending and breaking even under heavy loads. Designed specifically for 4.5-5 Qt tilt-head mixers, it fits popular models like K45SS, KSM75, and KSM150, making it a reliable replacement part.
Pros:
- Heavy-duty durability
- Dishwasher safe
- Perfect fit for various models
- No paint chipping
Cons:
- Limited to specific mixer sizes
- Cannot be used with non-compatible models
- Requires proper reattachment
Best for: Heavy-duty baking tasks such as cookie dough and mashed potatoes
Not ideal for: Not suitable for lightweight mixing or non-tilt-head mixers
Bottom line: A robust replacement paddle ideal for heavy-duty kitchen tasks.
KitchenAid Stand Mixer Attachment
This metal food grinder attachment expands your KitchenAid mixer’s capabilities by allowing you to grind meats, vegetables, and more with precision. Its durable construction and included plates make it a handy addition for fresh, homemade foods.
Pros:
- Enhances mixer functionality
- Includes multiple grinding plates
- Easy to attach and clean
- Sturdy metal build
Cons:
- Requires pre-chilling for best results
- Additional storage space needed
- Sold separately
Best for: Grinding meats, vegetables, and making sausages
Not ideal for: Not suitable for delicate or small-scale tasks
Bottom line: A powerful attachment that turns your mixer into a versatile food processor.
Frequently Asked Questions
Can I put the stainless steel flat beater in the dishwasher?
Yes, the stainless steel flat beater is dishwasher safe, making cleaning quick and easy. Just ensure it is thoroughly dried afterward.
How often should I clean my mixer and attachments?
It’s best to clean your mixer and attachments after each use to prevent residue buildup and maintain optimal performance.
What should I do if my beater is not fitting properly?
Ensure the attachment is correctly aligned with the hub and locked into place. If it still doesn’t fit, check for any debris or damage.
Are all KitchenAid attachments compatible with the Pro Line model?
Most attachments are designed for standard KitchenAid mixers, but always verify compatibility with your specific model before purchase.
Keep Your KitchenAid Pro Line in Prime Condition
Regular, careful cleaning of your KitchenAid Pro Line mixer and its attachments ensures longevity, safety, and top performance. Follow these steps after each use to keep your equipment in excellent shape, and enjoy consistent, professional-quality results every time you bake or cook.
Affiliate disclosure: As an Amazon Associate we earn from qualifying purchases. Prices and availability are accurate as of the time of publishing.
Halloween Picks
halloween
As an affiliate, we earn on qualifying purchases.