To use a coffee percolator, start by filling the water chamber with the desired amount of water and placing medium-ground coffee in the filter basket—about one tablespoon per six ounces of water. Heat the percolator, letting the water bubble up through the coffee grounds. Monitor the brew for about 5 to 10 minutes, observing the color and aroma for readiness. Pour and enjoy the rich flavor of your percolated coffee, as there’s more to explore about perfecting this classic method.
Key Takeaways
- Gather quality coffee beans, a coffee percolator, water, and measure one tablespoon of coffee per six ounces of water for optimal flavor.
- Fill the water chamber of the percolator and securely place coffee grounds in the filter basket before starting the heating process.
- Allow water to heat, causing it to bubble up through the tube, saturating the coffee grounds multiple times during the brewing.
- Monitor the coffee’s color and aroma, brewing for 5 to 10 minutes for the desired strength without over-brewing to avoid bitterness.
- Pour the brewed coffee carefully and enjoy it black or with your preferred cream and sugar for a traditional experience.
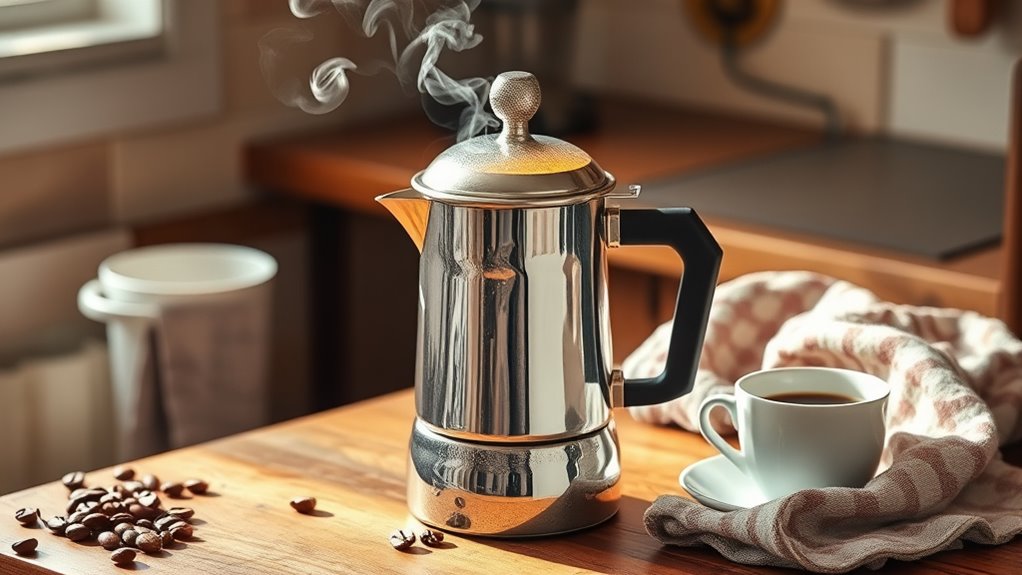
Using a coffee percolator can transform your morning routine, bringing out rich flavors in each cup. Unlike other brewing methods, a percolator allows the water to circulate through the coffee grounds multiple times, resulting in a more robust and intense coffee flavor. If you’re tired of the same old drip coffee, this old-school method might just be what you need to elevate your mornings.
Elevate your mornings with a coffee percolator, unlocking rich flavors and a robust brew that transforms your routine.
To start, you’ll want to gather your supplies: a coffee percolator, fresh coffee grounds, and water. It’s essential to use quality coffee beans, as they’ll directly impact the flavor of your brew. Aim for a medium grind, as finer grounds can clog the filter and lead to an overly bitter taste. Measure out your coffee based on your preferred strength; a general rule is one tablespoon of coffee grounds for every six ounces of water. Adjust this to your liking, but keep in mind that brewing time will also affect the final flavor.
Next, fill the percolator’s water chamber with the desired amount of water. Place your coffee grounds in the filter basket, ensuring it’s securely in place. Once everything is set, plug in the percolator or place it on the stove, depending on your model. As the water heats up, it’ll start to bubble up the tube, saturating the coffee grounds. This is where the magic happens—the percolation process begins.
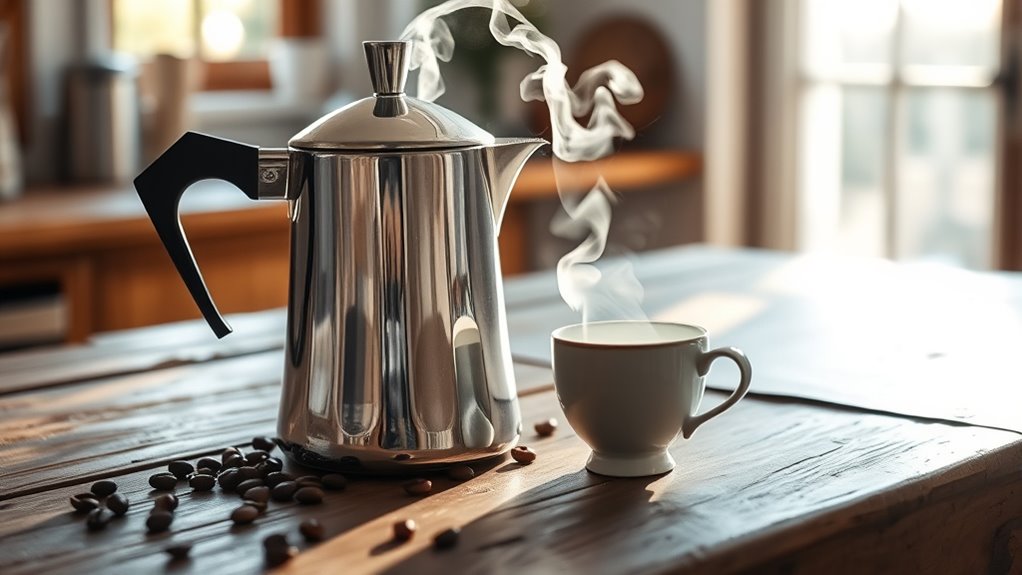
Pay attention to the brewing time. Typically, you’ll want to let your coffee percolate for about 5 to 10 minutes. The longer you brew, the stronger the coffee flavor will be. However, be careful not to overdo it, as this can lead to bitterness. A good rule of thumb is to watch for the color of the coffee as it percolates. Once it reaches a rich, dark hue, you’ll know it’s close to being ready.
When the brewing time is up, carefully pour yourself a cup and savor the aroma. You’ll notice a depth of flavor that’s hard to replicate with other methods. Enjoy it black or with your favorite cream and sugar, but remember to take a moment to appreciate the effort you put into this classic brewing technique. Using a coffee percolator is not just about making coffee; it’s about creating an experience that awakens your senses and kickstarts your day. Additionally, understanding heat distribution in the brewing process can help you achieve the perfect cup every time.
Frequently Asked Questions
Can I Use Flavored Coffee in a Percolator?
Yes, you can use flavored coffee in a percolator! Just keep in mind that the flavoring might affect the brewing process and taste. Flavored coffee generally works well with percolator compatibility, but you may want to adjust the amount you use since these coffees can be more potent. Experiment a bit to find the perfect balance for your taste. Enjoy your unique brew and savor those delicious flavors!
How Do I Clean a Coffee Percolator Properly?
To clean your coffee percolator properly, start by disassembling it. Rinse all parts with warm water. Use a mixture of vinegar and water for stubborn stains, letting it soak for a bit. You can also use soft sponges or cloths for scrubbing. Avoid abrasive cleaning supplies to prevent scratches. For maintenance tips, regularly clean the filter basket and pot to make sure fresh-tasting coffee. Rinse everything thoroughly before reassembling.
What Type of Coffee Grounds Is Best for Percolating?
When you’re crafting your morning elixir, think of coffee grounds as the brushstrokes on your canvas. For percolating, a medium-coarse grind works best, striking a balance between brewing strength and flavor extraction. Too fine, and you’ll brew a bitter concoction; too coarse, and you risk a weak cup. Experiment with different roasts to find the perfect blend that dances on your palate, awakening your senses and transforming your daily ritual into an art form.
Does Brewing Time Affect Coffee Flavor in a Percolator?
Yes, brewing time definitely affects coffee flavor in a percolator. Longer brew times increase the extraction process, resulting in a stronger brew strength. However, if you brew too long, your coffee might become bitter. You’ll want to find that sweet spot where the flavors balance beautifully. Experiment with different times to discover what suits your taste best, and enjoy a perfectly brewed cup every time!
Can I Brew Tea in a Coffee Percolator?
Sure, you can brew tea in a coffee percolator—it’s not just for your morning joe! Just swap out the coffee grounds for loose tea or tea bags. Remember, tea brewing times differ from coffee extraction, so keep an eye on it. You’ll want to monitor the steeping to avoid bitterness. With a bit of experimentation, you can enjoy a delightful cup of tea brewed the old-school way, just like our ancestors did!
Conclusion
Now that you know how to use a coffee percolator, you can enjoy a delicious cup of coffee just like folks did decades ago. Did you know that percolators were the most popular brewing method in the U.S. until the 1970s? Embracing this old-school technique not only connects you to coffee history but also allows you to savor rich flavors. So, grab your percolator, and brew up a nostalgic cup that’s full of character and warmth!