To avoid common baking mistakes, always measure accurately with the right tools, as small errors can affect texture and rise. Mix just until ingredients combine to prevent dense results, and prep your ingredients properly by sifting and bringing them to the right temperature. Use a reliable oven thermometer to guarantee correct baking temperatures, and don’t skip cooling and resting times, which help set the structure. Keep these tips in mind for perfect baked goods every time.
Key Takeaways
- Use accurate measuring tools and techniques to ensure correct ingredient quantities.
- Mix batter just until ingredients are combined to prevent over- or undermixing.
- Prepare ingredients properly, including sifting dry ingredients and bringing items to room temperature.
- Always verify oven temperature with a thermometer and follow recommended baking times.
- Allow baked goods to rest and cool completely to set structure and avoid sogginess or collapse.
Using Incorrect Measurements
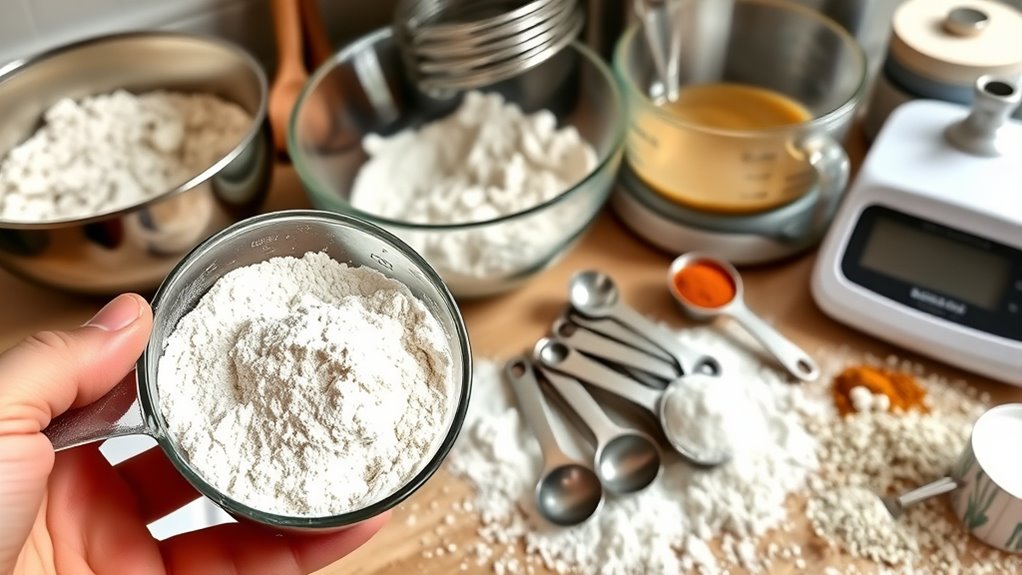
Have you ever wondered why your baked goods don’t turn out quite right? It often comes down to measuring techniques and ingredient accuracy. Using the correct tools, like a digital scale or proper measuring cups and spoons, guarantees you get precise amounts. For dry ingredients, spoon them lightly into the measuring cup and level off with a straight edge; for liquids, use a clear measuring cup at eye level. Avoid scooping directly from the container, which can pack ingredients down and lead to over-measuring. Accurate measurements are vital because even small errors can affect texture and rise. Take the time to measure carefully; it’s a simple step that makes a big difference in your baking success. Proper measuring techniques help ensure consistent, delicious results every time.
Overmixing or Undermixing Batter

Measuring ingredients accurately sets the foundation for good baking, but how you handle the batter once combined can make or break your results. Overmixing can lead to excessive gluten development, resulting in dense, chewy textures and undesirable texture issues. When you mix too little, the batter may be uneven, causing inconsistent baking and a crumbly or dense outcome. For ideal texture, mix just until ingredients are combined, especially after adding flour. Stop mixing once you see a uniform batter; this prevents overworking the gluten. Conversely, undermixing leaves pockets of dry ingredients or uneven distribution, impacting rise and texture. Paying attention to mixing times ensures your batter has the right consistency, avoiding common pitfalls and delivering a light, tender baked good.
Not Prepping Ingredients Properly
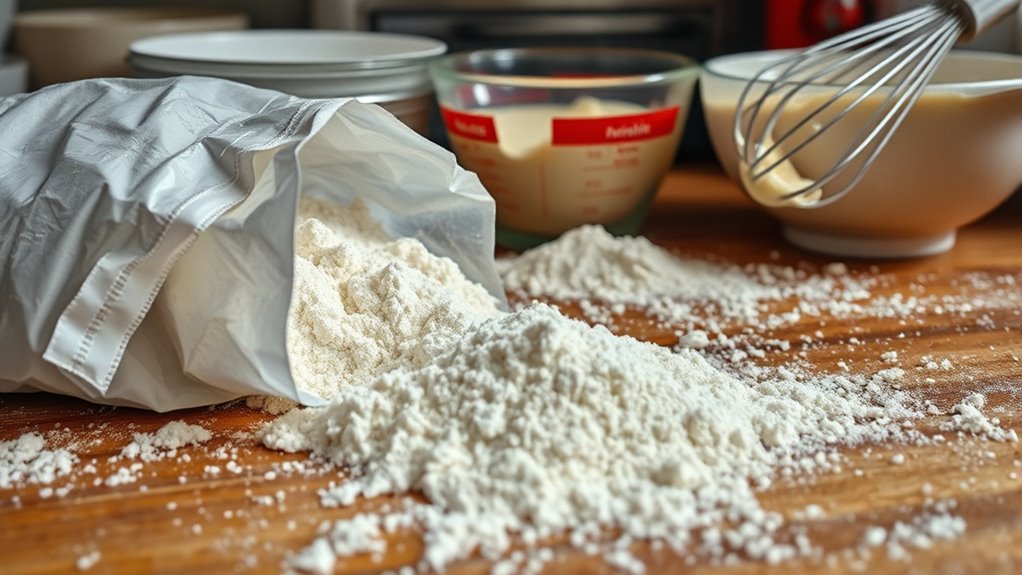
Properly prepping your ingredients before you start mixing can make a significant difference in your baked goods. Organizing your ingredients at a dedicated prep station helps ensure everything is measured, ready, and within reach. When you skip this step, you risk rushing or forgetting key ingredients, which can affect texture and flavor. Start by sifting dry ingredients to prevent clumping, chopping nuts or fruits uniformly, and bringing ingredients to room temperature if needed. Keep your prep station clean and organized so you can work efficiently. This preparation reduces the chance of errors, saves time during mixing, and promotes consistent results. Taking a few minutes to prep ingredients properly sets a solid foundation for successful baking. Additionally, understanding the importance of free floating in various baking processes can help you maintain the right texture and consistency in your baked goods. Proper ingredient measurement also plays a crucial role in achieving the desired outcome, ensuring your baked treats turn out just right. Being mindful of baking science principles can further improve your baking accuracy and confidence. Moreover, incorporating techniques for auditory processing can help bakers better follow complex recipes and instructions, ultimately enhancing the quality of your baked goods. Being aware of body jewelry measurements and materials can also be useful if you need to adapt or understand tools and equipment used in baking environments.
Baking at the Wrong Temperature or Time
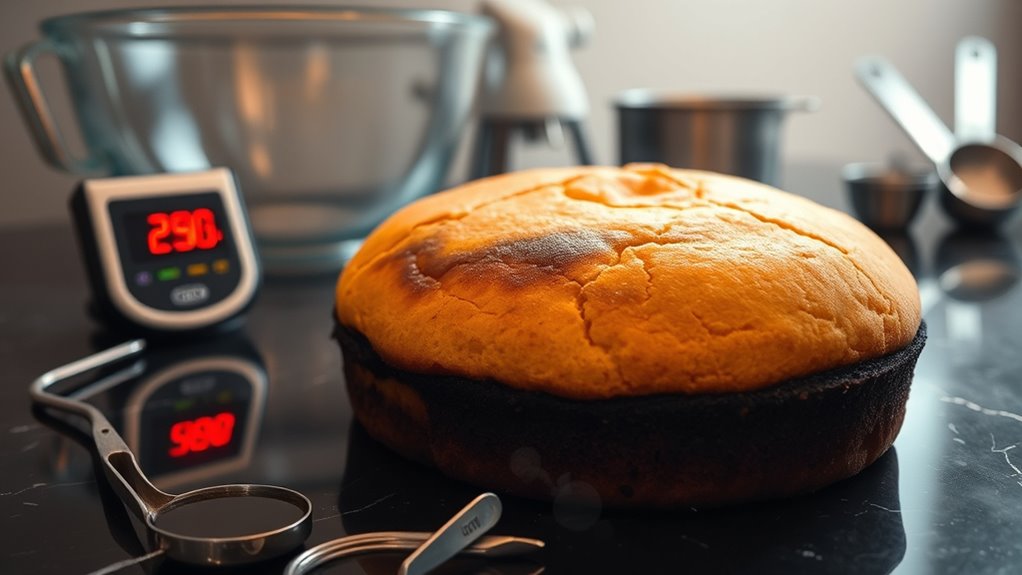
Are you baking at the right temperature and time? Incorrect oven calibration can cause your baked goods to turn out under or overdone. Always double-check your oven’s temperature with an oven thermometer to verify accuracy. Relying solely on the built-in timer isn’t enough; it can be inaccurate or malfunction. Use a reliable timer and set it properly to avoid undercooking or burning your treats. Adjust your baking time based on your oven’s true temperature, not just the recipe’s suggested time. Remember, every oven is different, so monitoring your baked goods closely helps prevent mistakes. Consistent results come from knowing your oven’s quirks and ensuring your timing and temperature are precise. Additionally, understanding your oven’s calibration can help you make more accurate adjustments for better baking outcomes. Regularly inspecting and adjusting your oven’s temperature settings is essential for achieving perfect results. Being aware of your oven’s performance variability can further help you adapt your baking process for optimal results, ensuring your treats come out just right. Recognizing the importance of oven maintenance can also extend the lifespan of your appliance and improve baking consistency.
Ignoring Resting and Cooling Periods

Skipping resting and cooling periods can sabotage your baked goods by causing them to collapse, become soggy, or lose their shape. Resting techniques allow the structure to set properly, preventing crumbles or uneven textures. After baking, avoid cutting into bread or pastries immediately; instead, let them rest so moisture redistributes evenly. Cooling methods are equally vital; transferring baked items directly from the oven to a cooling rack helps prevent sogginess and maintains crispness. Proper cooling also enhances flavor and texture. Ignoring these periods may cause your baked goods to be less appealing and compromise their quality. Take the extra step to follow resting techniques and cooling methods diligently, ensuring your baked creations turn out perfectly every time. Additionally, understanding baking science can help you fine-tune these steps for optimal results, including the importance of resting and cooling periods, which are essential for texture and flavor development.
Frequently Asked Questions
How Do I Calibrate My Oven for Accurate Baking Temperatures?
To calibrate your oven for accurate baking temperatures, start by placing an oven thermometer inside. Preheat your oven to 350°F and compare the reading. If it’s off, use calibration techniques like adjusting the oven’s temperature dial or following your oven’s manual. Regularly check with oven thermometers to guarantee consistent accuracy. This way, you’ll bake with confidence, knowing your oven maintains precise temperatures every time.
What Are the Best Tools for Precise Measurement in Baking?
Like a detective with a magnifying glass, you need precise tools for perfect baking. Measuring spoons give you quick, accurate volume measurements, while a digital scale provides exact weight readings for ingredients like flour or sugar. Using both guarantees consistency and accuracy in your recipes. Invest in quality tools, and you’ll be able to measure ingredients with confidence, leading to better baked goods every time.
How Can I Tell if My Batter Is Overmixed or Undermixed?
You can tell if your batter is overmixed or undermixed by checking the mixing consistency and batter texture. Overmixed batter tends to be smooth, stiff, and may have a shiny appearance, while undermixed batter appears lumpy, streaky, and uneven. To prevent this, mix just until ingredients are combined, stopping as soon as the batter reaches a uniform consistency. Proper mixing ensures the best rise and texture in your baked goods.
Why Does My Baked Goods Sink or Collapse After Baking?
Your baked goods sink or collapse because of improper air bubble formation or ingredient substitution. When you don’t create enough air bubbles or disturb their structure, the structure weakens, causing collapse. Ingredient substitutions can alter the chemical reactions needed for stability, like replacing baking soda with baking powder or using wrong fats. To avoid this, follow recipes closely and handle batter gently, ensuring proper aeration and consistent ingredients.
How Long Should I Let Baked Items Rest Before Slicing or Serving?
Imagine a delicate cake softly settling after baking, its flavors merging as you wait. You should let your baked items rest for at least 10-15 minutes, giving them a proper cooling period before slicing or serving. This resting time allows the structure to firm up, preventing crumbling. Patience here guarantees your treats hold their shape and taste, making every bite as delightful as it looks.
Conclusion
By avoiding these common baking mistakes, you’ll turn your kitchen into a bakery haven. Think of each step as planting seeds for perfect treats—when you measure accurately, mix just right, prep thoroughly, bake at the right temperature, and let your baked goods rest, you’ll see your efforts blossom into delicious success. With a little attention, your baking will shine brighter than a well-polished cake, making every bite a sweet reward for your care and skill.